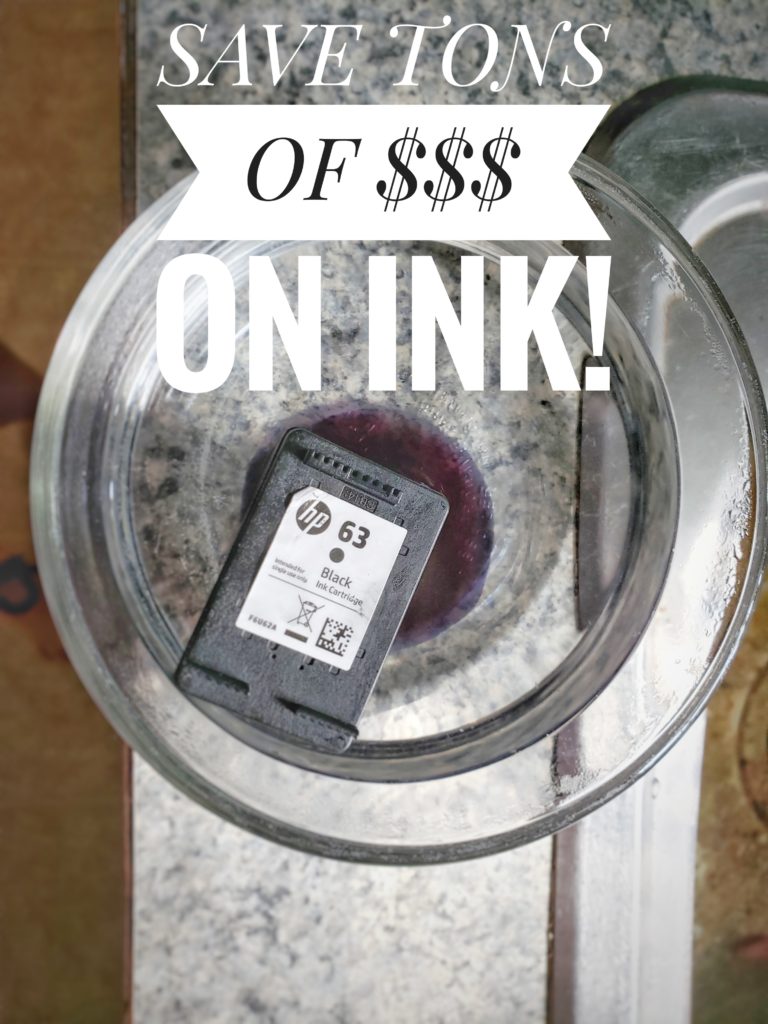
Don’t burn money on new ink cartridges anymore!
***As an Amazon Associate I earn from qualifying purchases.
Click here for more money saving! Rakuten will get you cash back for purchases you already make!
Between distance learning and my own job, we have no ink! I was constantly depleting my checking account with ink cartridge orders! I was so surprised at the amount of paperwork that went through this house. What in the world could I do?
I heard of people refilling ink cartridges before but the task seemed daunting to me. All I pictured was an ink mess all over my hands and all over the inside of my printer. I was seriously intimidated. So I never did it and kept shelling out $ for ink.
Finally one day, I did my research and decided to take the plunge. I mean after all, what did I have to lose? If it worked, I would save a boat load of money. If it didn’t, I’d have a mess to clean up.
Well, I’m here to tell you that I never had an sort of atomic explosions inside my printer like I had pictured! I don’t think I’ll ever buy another ink cartridge! Refilling my ink cartridges myself takes MINUTES and saves me hundreds of dollars!
What you Need First:
Ink Refill Kit
Amazon sells a LOT of refill kits. I am giving you the link to the one I bought. You can buy whatever one you want. I mean seriously, this one is $10. TEN DOLLARS. Compared to just one ink cartridge, that’s already a major save. PLUS, this kit will refill your cartridges many times before you need more.
Gloves
I didn’t buy any gloves for this but I stain my hands every time. I would recommend wearing gloves to prevent this. If you get any on your hands or clothes, use alcohol and it will come off. I use alcohol or even hair mousse (believe it or not) to get it off of my hands.
- Start by soaking your ink cartridge in hot water for about 10-20 minutes. If your cartridge is old and dried up, leave it in the hot water for 30 minutes. If you see ink bleed out, that’s a good sign.
2. Let the cartridge dry really well. I left mine sit for 4-5 hours first. Make sure you put a thick paper towel underneath because the ink will bleed out more.
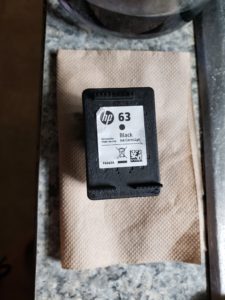
3. Peel back the sticker on the top of the cartridge. Be careful not to peel it back the whole way. You just want to see the middle hole where you need to drill.
4. Once you’ve peeled back the sticker, get out the drilling tool. You want to drill the center out. This isn’t the easiest part but you only need to do it once. You may have to wiggle the drill back and forth and push until it cuts through the center.
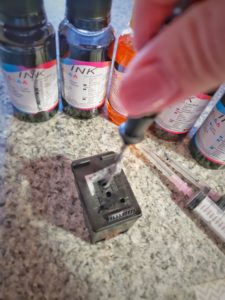
5. Next you will have to attach the needle to the syringe. BE CAREFUL! Leave the lid on the needle as you do this. And make sure you get it on tight so no ink leaks through.

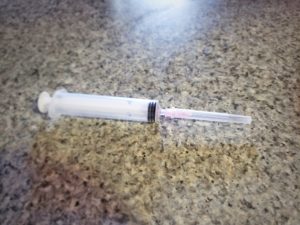
6. My instructions said to fill up the syringe to a 5 but that was way too much ink for mine. Depending on how empty your cartridge is, you may only need to fill it up to a 2 or 3. I am showing a 4 here. Make sure there are no air bubbles. This just prevents a mess when your pushing the ink in.
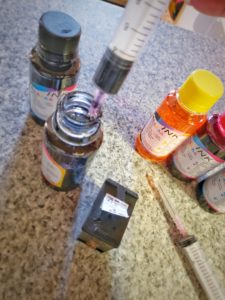

7. Slowly inject your ink into the cartridge. Make sure you have something under the cartridge because it will leak. You can pull out the syringe and put it in a different angles to make sure you got the entire sponge. It won’t take much.
When you’re all done, wipe off the cartridge and the bottom until it stops leaking.
Push the sticker back down and you’re done!
*I always copy random papers to get the ink flowing before I use it.
*If you ever have an issue where you keep refilling the cartridge and it’s not printing, you may need to pull it out and soak it in hot water again. There could be a clog.
I hope this tutorial helps you! Let me know how it goes and feel free to share your own tips!


I don’t even know how I ended up here, but I thought this post was good.
I don’t know who you are but definitely you’re going to
a famous blogger if you aren’t already
Cheers!