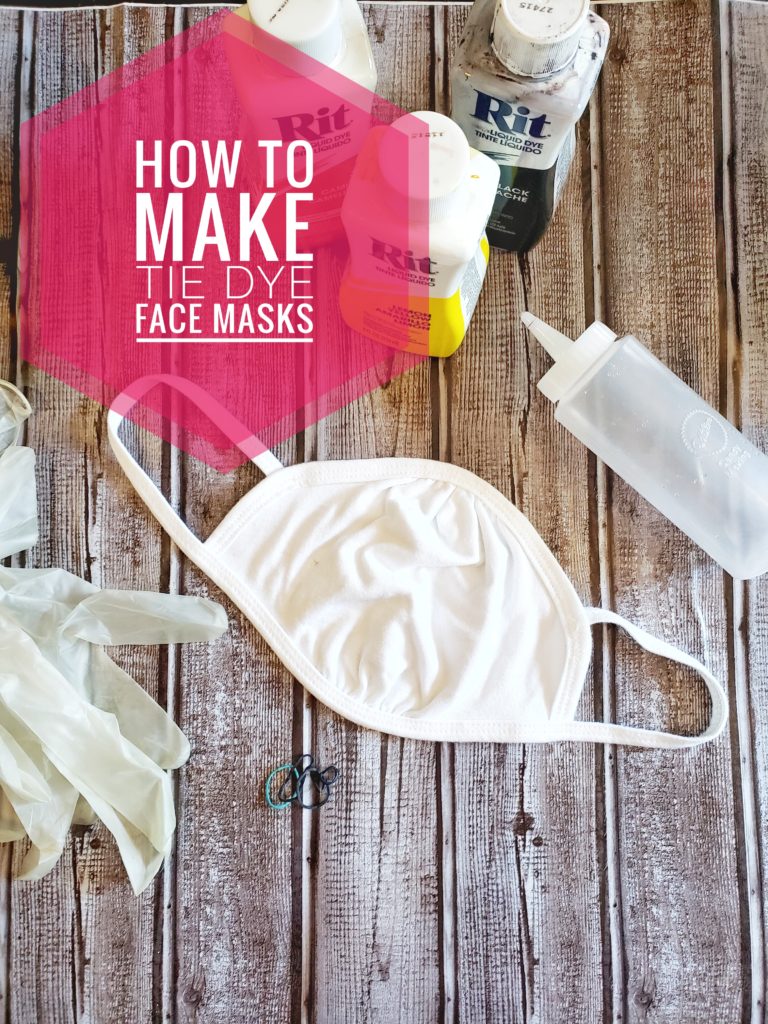
What you Need First:
Face Masks to Dye

Liquid Rit Dye

Gloves

Plastic Wrap

Rubber Bands

Press N Seal (optional)

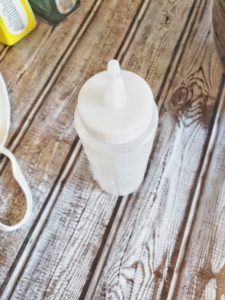
Squeeze Bottles

Salt

White Vinegar

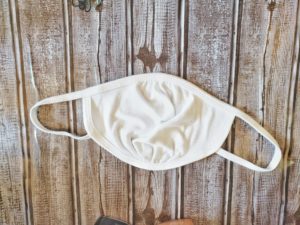
- Start by pre-washing your masks that you want to dye. We didn’t do this at first and the color certainly didn’t stick as well as we had hoped. After you wash, make sure that you leave the clothing damp! The dampness helps absorb the color. I thought the opposite at first. We watched many tutorials before we realized that this actually really helped!
2. Cover your work area in an old shower curtain or lots of plastic. You’ll be really glad that you didn’t skip this step. This stuff can get really messy. And don’t forget gloves! We also used Glad Press N Seal to cover the kids’ clothes in case of splashes and spills. It worked great because you can just peel it off and throw it away at the end.


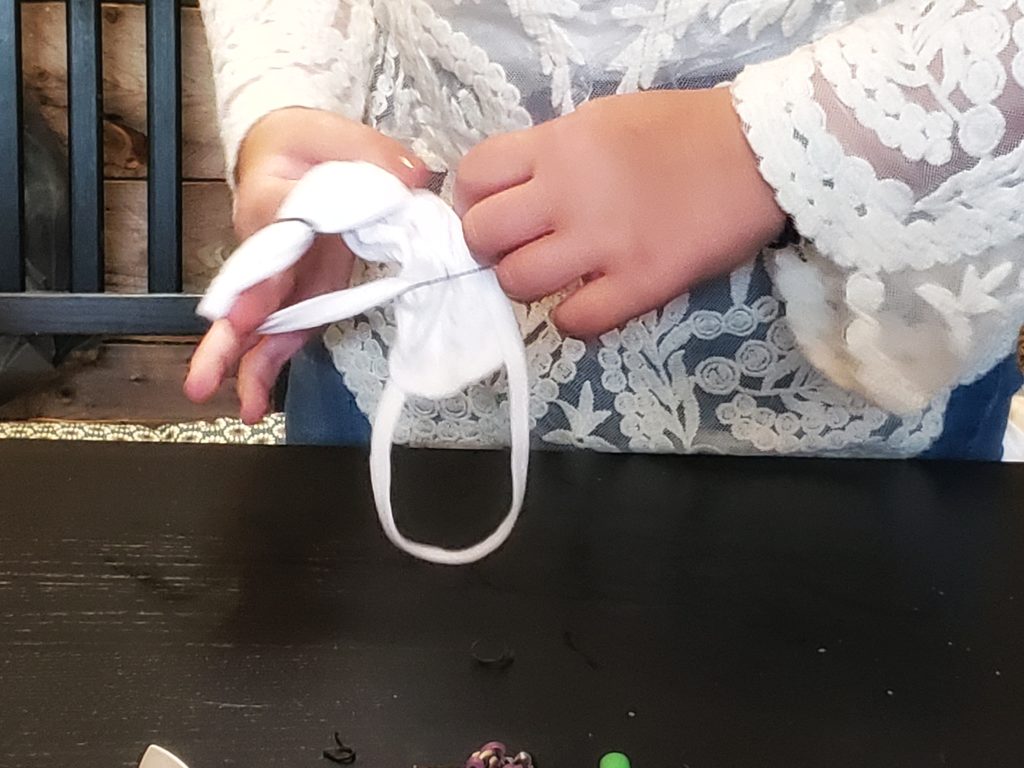
3. Decide which design you want and fold your garment up. You can start in the center with a fork and twirl (my favorite), start from a corner and bunch your way up to the opposite corner, take random spots and wrap rubber bands, or start at the top and bunch a “V” pattern the whole way down. There’s so many different ways and patterns. Don’t forget to add rubber bands at even patterns.

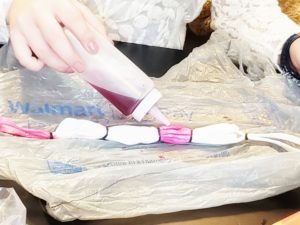
4. Fill your squirt bottle with hot water (not boiling) and add 2 tablespoons of

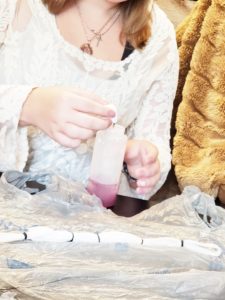
Shake carefully. We reused the same bottle over and over but you can buy several and fill them all with different colors. We happened to have a bottle laying around that we weren’t using.

But you can buy them if you need to. Here is a nice set on Amazon by clicking the picture below.
5. Lay your pieces on a metal cooling rack, use gloves and begin carefully squirting your colors onto your fabric. Make sure that you make nice even sections. This will look a lot nicer. Flip over and do t he same to the other side. After you’re done, let sit for 30 mins.
6. Now here’s the secret part!! I swear it makes such a difference, you’ll be amazed. Fill up your clean squirt bottle with just a little bit of hot water again. Add about 1/2 tablespoon of salt. Swirl around until dissolved. Now fill up the rest of the bottle with white vinegar. Shake carefully. Give your garments a nice soak on both sides with this mixture.

7. Wrap all dyed garments with plastic wrap and microwave for 2 minutes. This really works! We tried it without this step and there were lots of tears and sadness. You can buy the fixation solution from Rit but this works just as good.
8. After your garments have cooled, wash them ONE AT A TIME with an old towel in COLD water. Hang dry. That’s it! Super cute tie dye masks!